
So I'm excited to present my gorgeous friend Amy's Cowgirl Party today! Her baby girl Milli turned 1 earlier this year, and she put together a party that was SO MUCH FUN for the little ones and really beautifully and creatively done!!
When we arrived, this sign welcomed guests:

Amy's handy husband Morris cut out the wood, and to get the writing on the panels in her chosen font, Amy printed the words, mirror image, onto greaseproof paper. She dampened the wood, then placed each word face down where she wanted it to go on the panel. Then she transferred it onto the wood by running over it with a credit card and letting it dry!! It sounds so do-able and looked awesome! Morris then just attached them to the stake and into the ground it went!
As we entered the side yard, we came across these:

The sign said to please find each child's and put it on!! The hats were for all the toddlers, the bandannas were for the bubs who were too small for the hats, and there was also a gorgeous hobby horse for each child!!

Amy ordered the hats online, sewed the bandannas herself, and made the hobby horses. She didn't even follow any instructions with the hobby horses - she just saw some and worked out how to do it, and she and her sister spent some time sewing them together!! Our girls have had their hats and horses for almost 6 months now, and play with them pretty much every day - they're really nice ones, and lots of fun! If anyone's interested to find out how Amy and her sister made these, maybe I can coax her back to tell us sometime ;)
As you kept walking around to the back, there was a tractor (Amy's Dad's), which was so much fun for the children to have turns 'driving', and for us to get pictures on!! :) Here's Amy's little man having a ride on it :)
 |
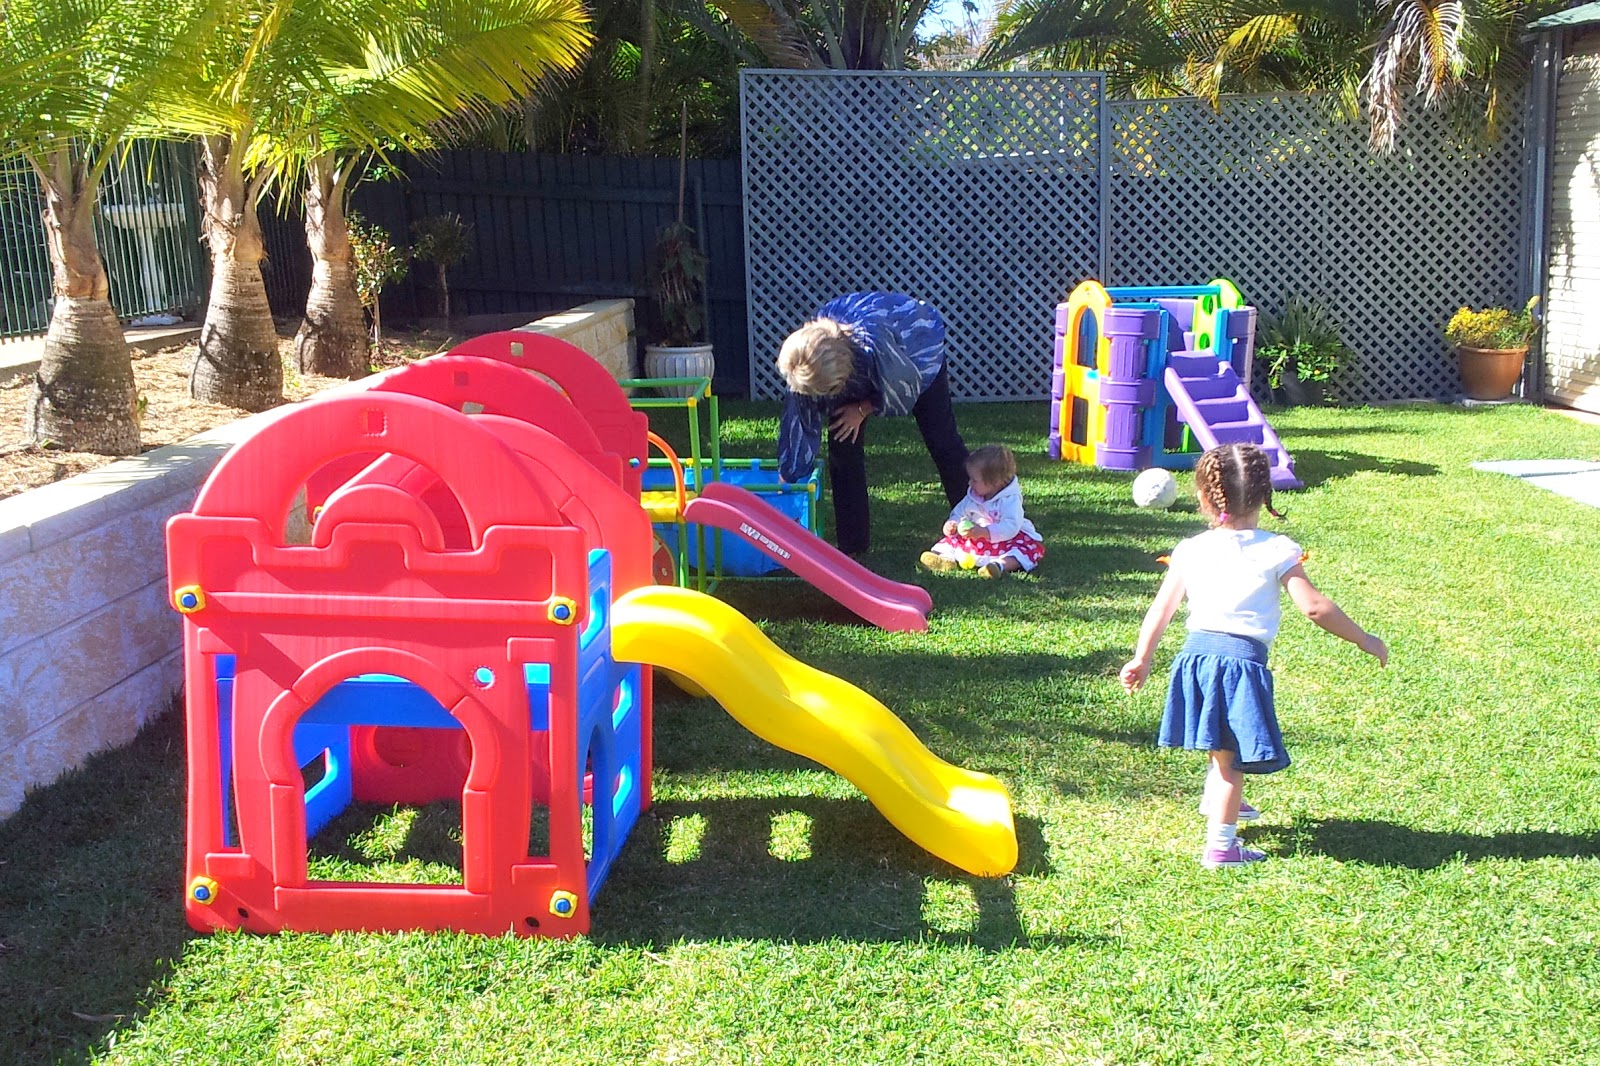
| Most of the pictures are Amy's, but a couple are bad quality ones off my phone!... this is one of those, sorry! But he looks so cute! :) |
The backyard was full of play equipment for the children to all play on - and they all made good use of it! :)
In this next pic you can see the patch Amy sewed onto Elijah's now 'cowboy' jeans - the other back pocket was lined with tiny bunting which matched the bunting she sewed for inside - such cute details!! :)

And now to the inside..
Here's a (kind of bad quality phone photo - sorry again!) of the inside room overall - you can see the cute bunting Amy sewed under the window on the left.

Amy had bought some cute little water bottles and replaced their labels with some of her own:


The food tables looked great, and I loved all the theme food :)

Like everything at this party, the food was in theme, AND really age appropriate for the toddlers there - I know my girls love sinking their teeth into a cob of corn, eating chicken wings with their hands, and they loved all the fruit and mini sandwiches and hot dogs!


The 'Milli's Farm' and 'Milk' boxes, Amy and Morris made, and this time Amy printed out the words and traced, then painted them onto the boxes. She went op-shopping to pick up the baskets they used around the place, and bought the hay bales from a local sugar cane farm!

One of my favourite things at the party were the old school milk bottles in the special milk crate:


Amy borrowed her bottles from a friend, but said you can get them on ebay. She bought the paper straws online, and just before it was time to come inside and eat, she filled the bottles with different flavours of milk. SO perfect for the age group of the party - good for them, and the children loved them :)

Then there was the sweets table:

A friend of Amy's made the cute little signs and labels you can see around, in the farm theme. In the end Amy was so busy with the rest of the party prep, she got the cake, cupcakes, cake pops and cute animal biscuits from Cakes, Cups and Pops - a local lady who did a great job - they were all really delicious and SO cute!!


Each of the children had a cupcake, and I laughed so hard at Maggie's awed face when they placed one of the cupcakes with a whole icing animal topping it in front of her! :)

I think the birthday girl enjoyed hers too :)

I'd never tried cake pops before, but these were amazing!!!

Each child received an animal cookie to take home...

Amy made the 2 bright blue cakestands (!!) by getting 2 terracotta pots from Mitre 10, and glueing one on top of the other for the stand, and getting a larger terracotta plate, and glueing it on top!! Then she spray painted them the bright blue. They looked amazing!! :) - how creative is that?!

Even the chocolate biscuits were nicely in theme :)

Bless wagon wheels! ;)
I loved the basket of apples by the table too :)

And the party bags - the mini bunting across the bottom of the table is the same bunting Amy sewed onto Elijah's pockets :) I love the hessian Amy had around the place, adding that country touch!

I haven't even shown you the Birthday Girl properly:

Amy sewed an 'M' onto Milli's plain white onesie, and she was a rocking cowgirl in a pettiskirt, denim jacket and her cute hairband :)
Here's the whole family:

Meanwhile, outside, each guest had their picture taken in a fun blue frame:

The children played 'pin the chick'... (Amy found this at Spotlight)

And then participated in some good, old fashioned horse racing, which - you can tell by their faces - they LOVED :)

Then topped the fun off with a horse piñata :)

Amy had put in a few little toys and sunnies as well as sweets...

And the toddlers were rocking their style :)

This party was so wonderful, because as well as there being so many cute theme touches, everything at the party was perfectly age suitable for Milli and her friends, and Elijah and the other older siblings who were invited along as well. The food was perfect for them, the games and activities were perfect, and they all had a BALL. And the girls have been cowgirls around the house ever since! :)
Thankyou so much for sharing, Amy!! :)

You can read more about Amy's little family on her family blog here, and we may have her back soon - Elijah's birthday is fast approaching ;)


